Make a PDF Accessible
PDF files are usually not the best choice for presenting information on a website. Rather, adding your content directly to a regular webpage is a better and more consistent way to achieve federally-mandated accessibility. Plus, webpages (formatted with HTML and managed in Cascade CMS) are faster and easier to maintain than PDF files. So, putting your content directly into a webpage should always be your first choice whenever possible.
The most common reasons to use PDFs are to:
- Publish secure printable documents that cannot be altered or copied.
- Preserve needed document formatting or layout for printing.
If you must publish a PDF to the website, it must still legally meet all of the same accessibility requirements as an HTML webpage. That means content, heading structure and image alt tags must all be part or your PDF document.
Below are ways to improve PDF accessibility using Adobe Acrobat Pro DC. Also see our Accessibility links for:
- a webinar on making PDFs accessible, and
- resources if you do not have Adobe Acrobat Pro DC or comparable software.
Steps to remediate a PDF file using Adobe Acrobat Pro DC
Add a Descriptive Title
File > Properties > Description Tab > Title

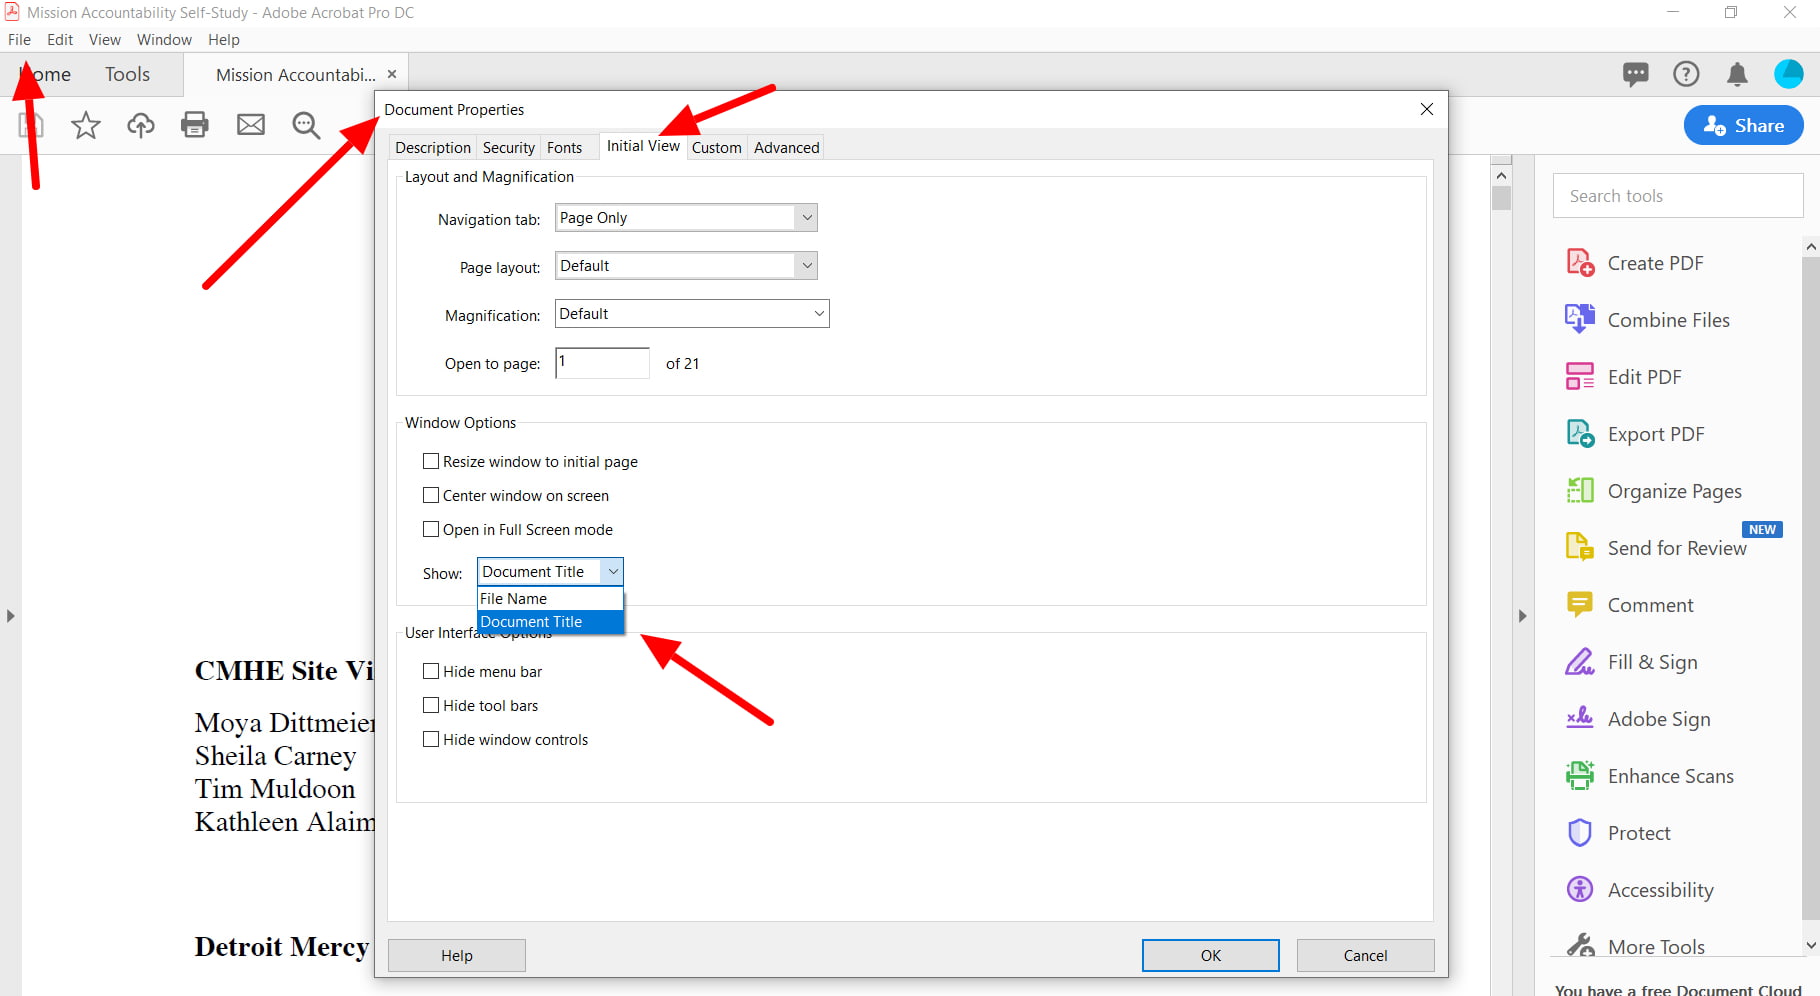
Make sure the Document Title appears
File > Properties > Initial View > Windows Options > Show Dropdown > Document Title
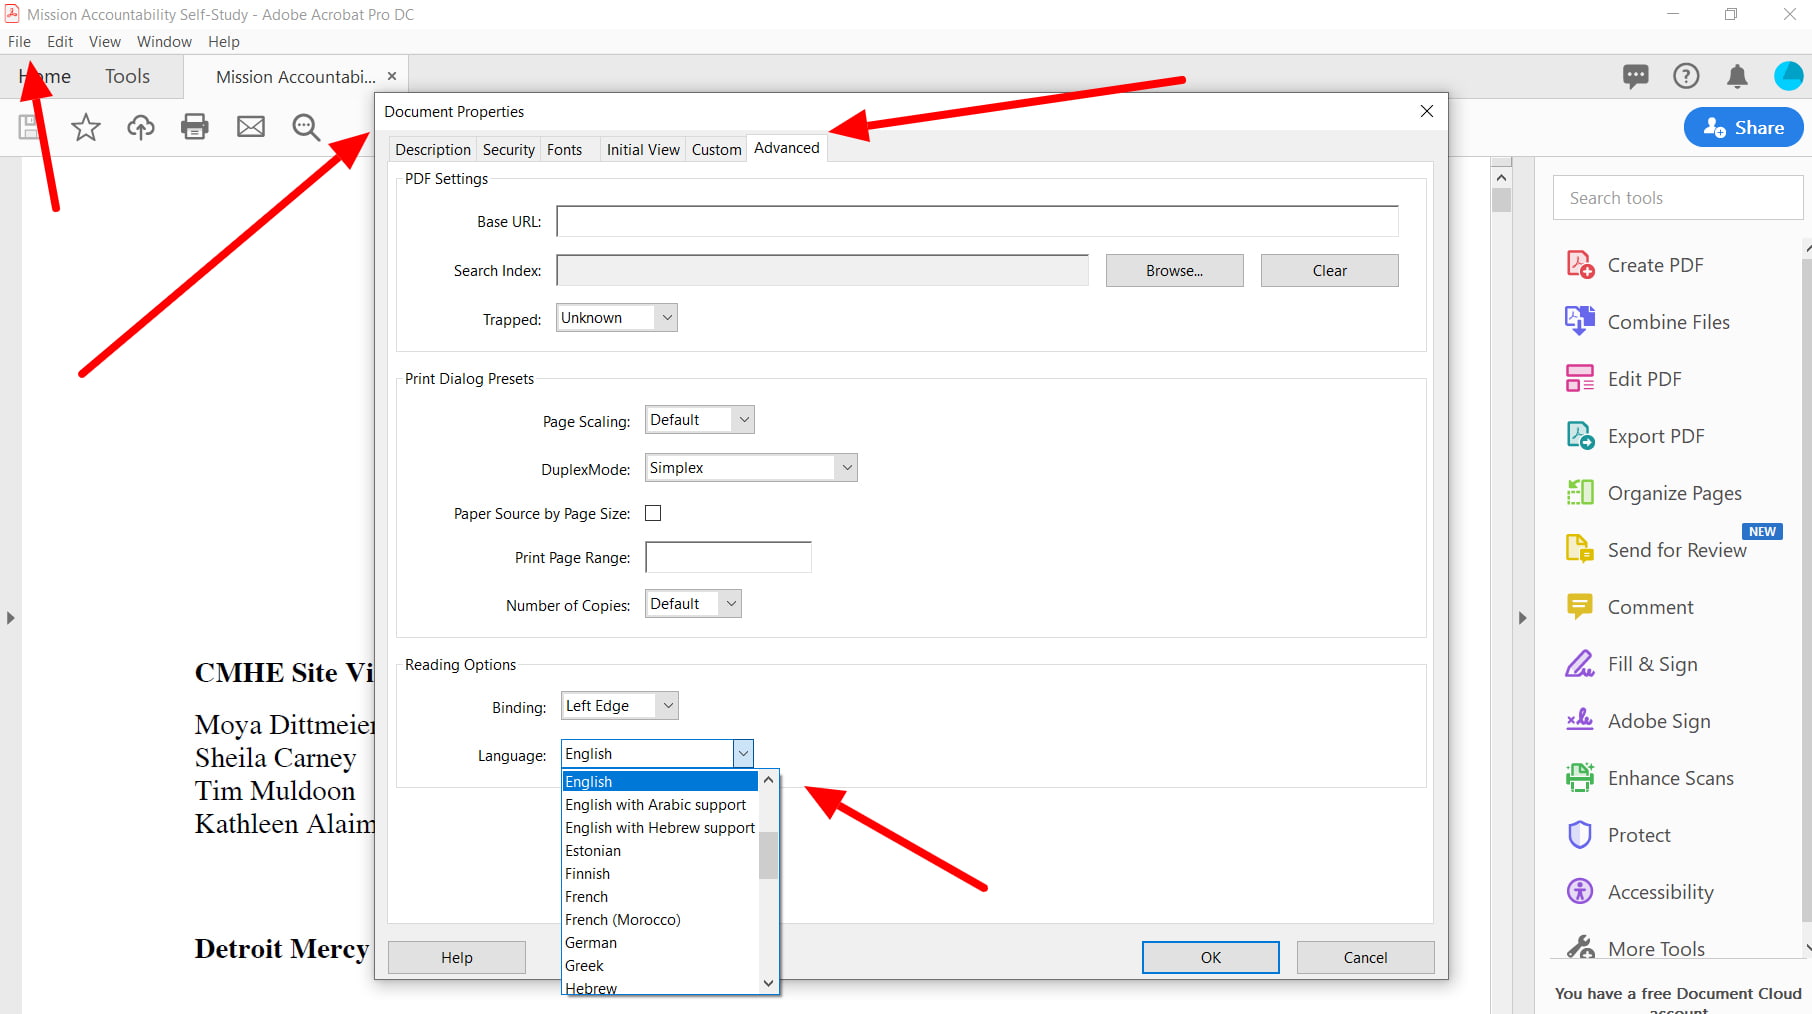
Set the Language
File > Properties > Advanced > Language dropdown > English
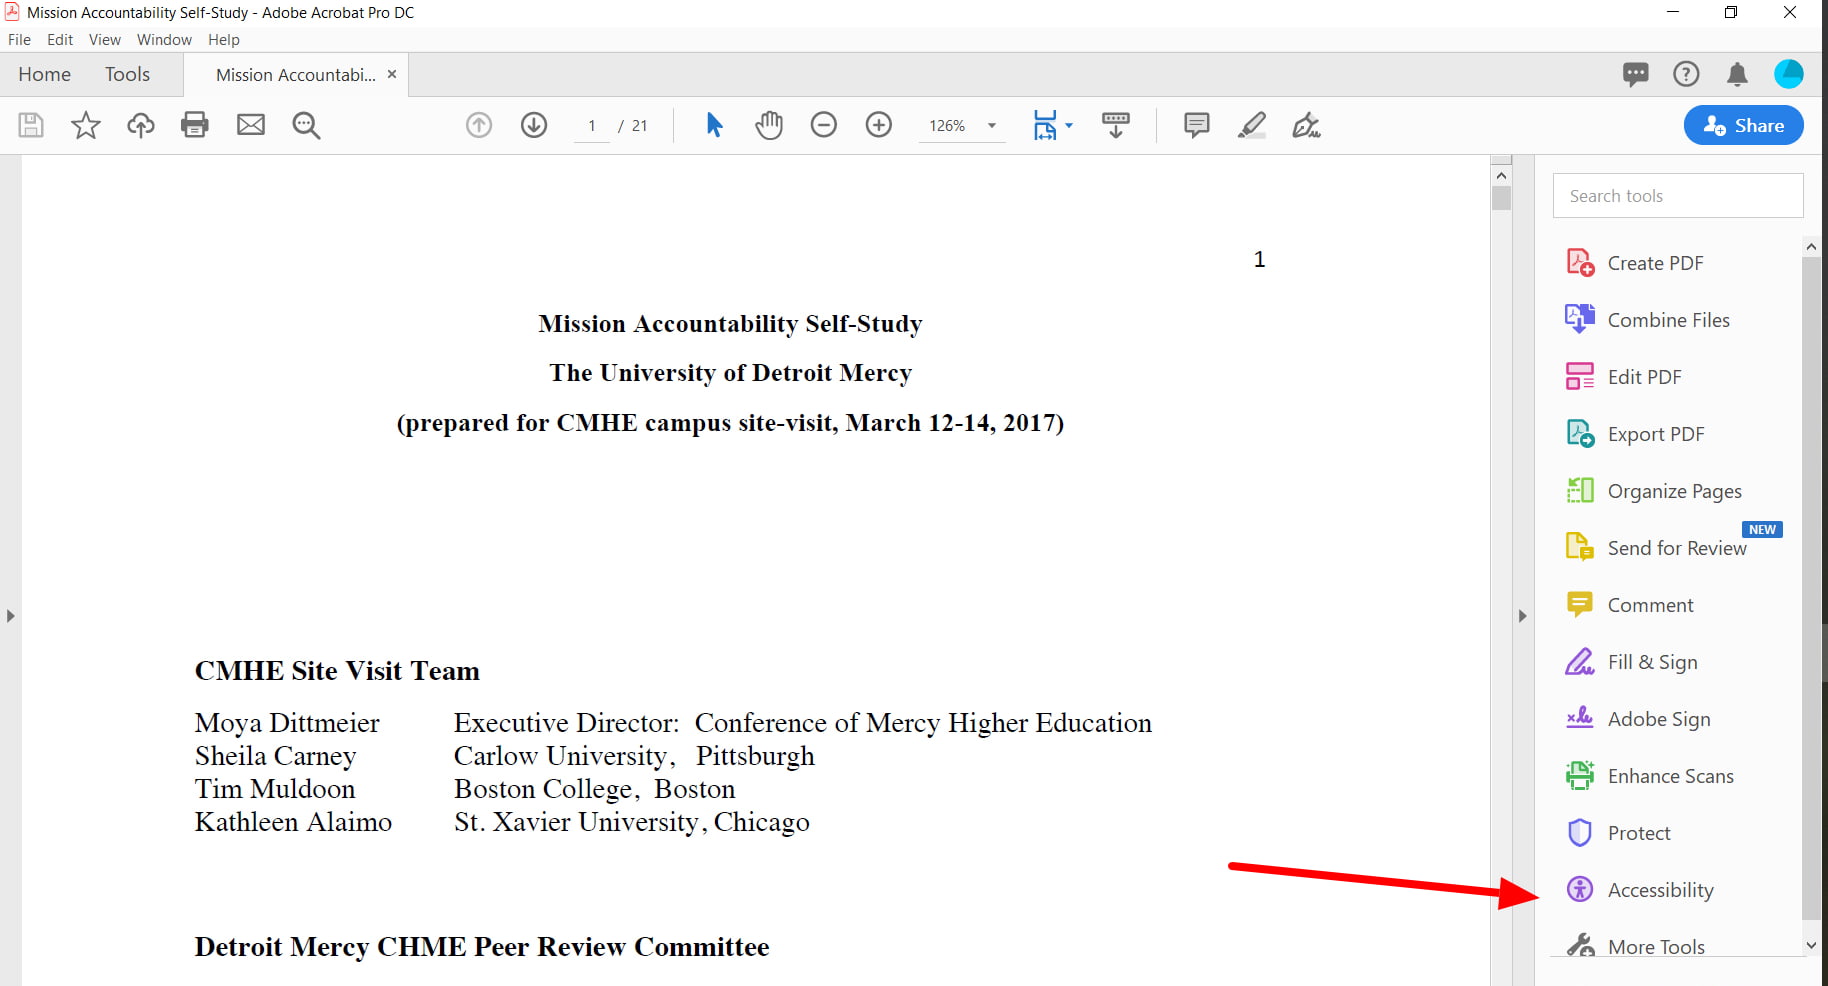
Click the Accessibility tool in the Tools Bar
If you do not see Accessibility in your Tools bar, click More Tools, find Accessibility and in the dropdown, click Add Shortcut.
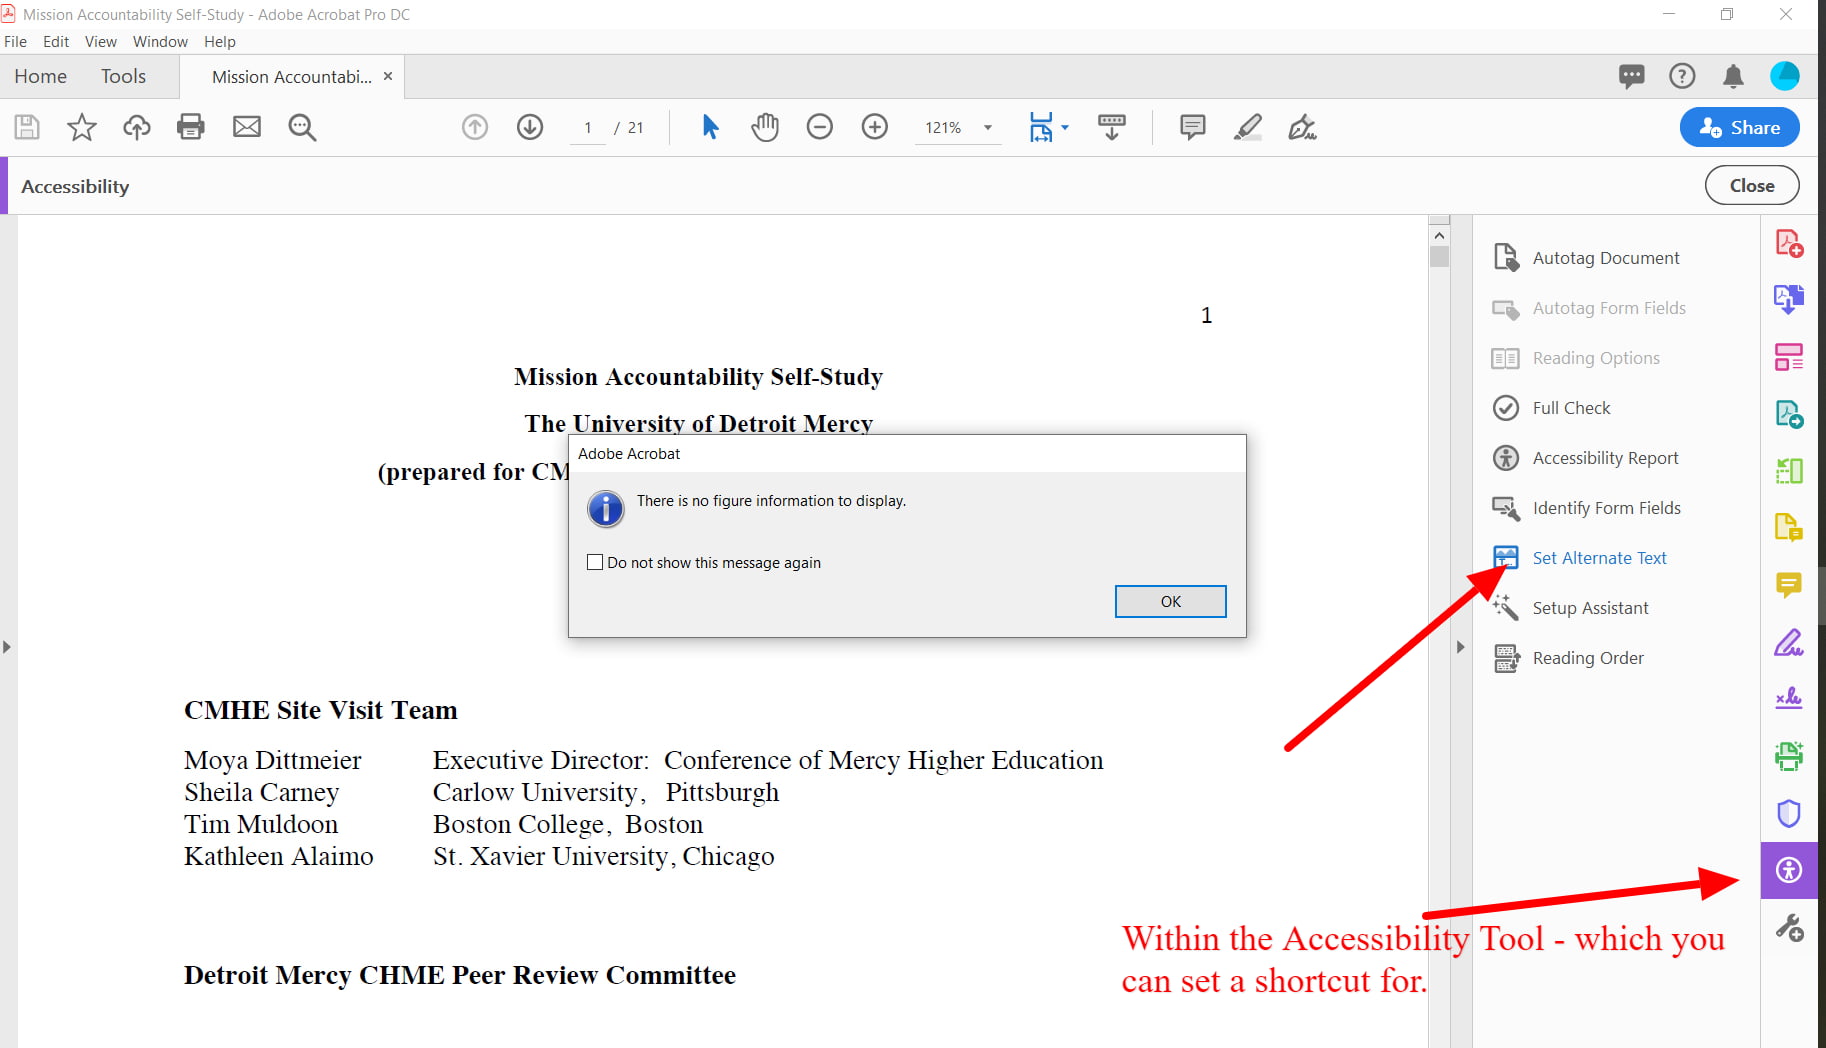
Set alt tags to images and figures
A pop-up box will appear and highlight each image that you need to set an alt tag for. Describe the image in as few words as possible but still get the purpose of the image across. Text inside images is highly discouraged because it is inaccessible, but if there is text inside of an image, the alt text field is the best place to add it. If the image is not essential to the information being presented, add a space and click "decorative image."
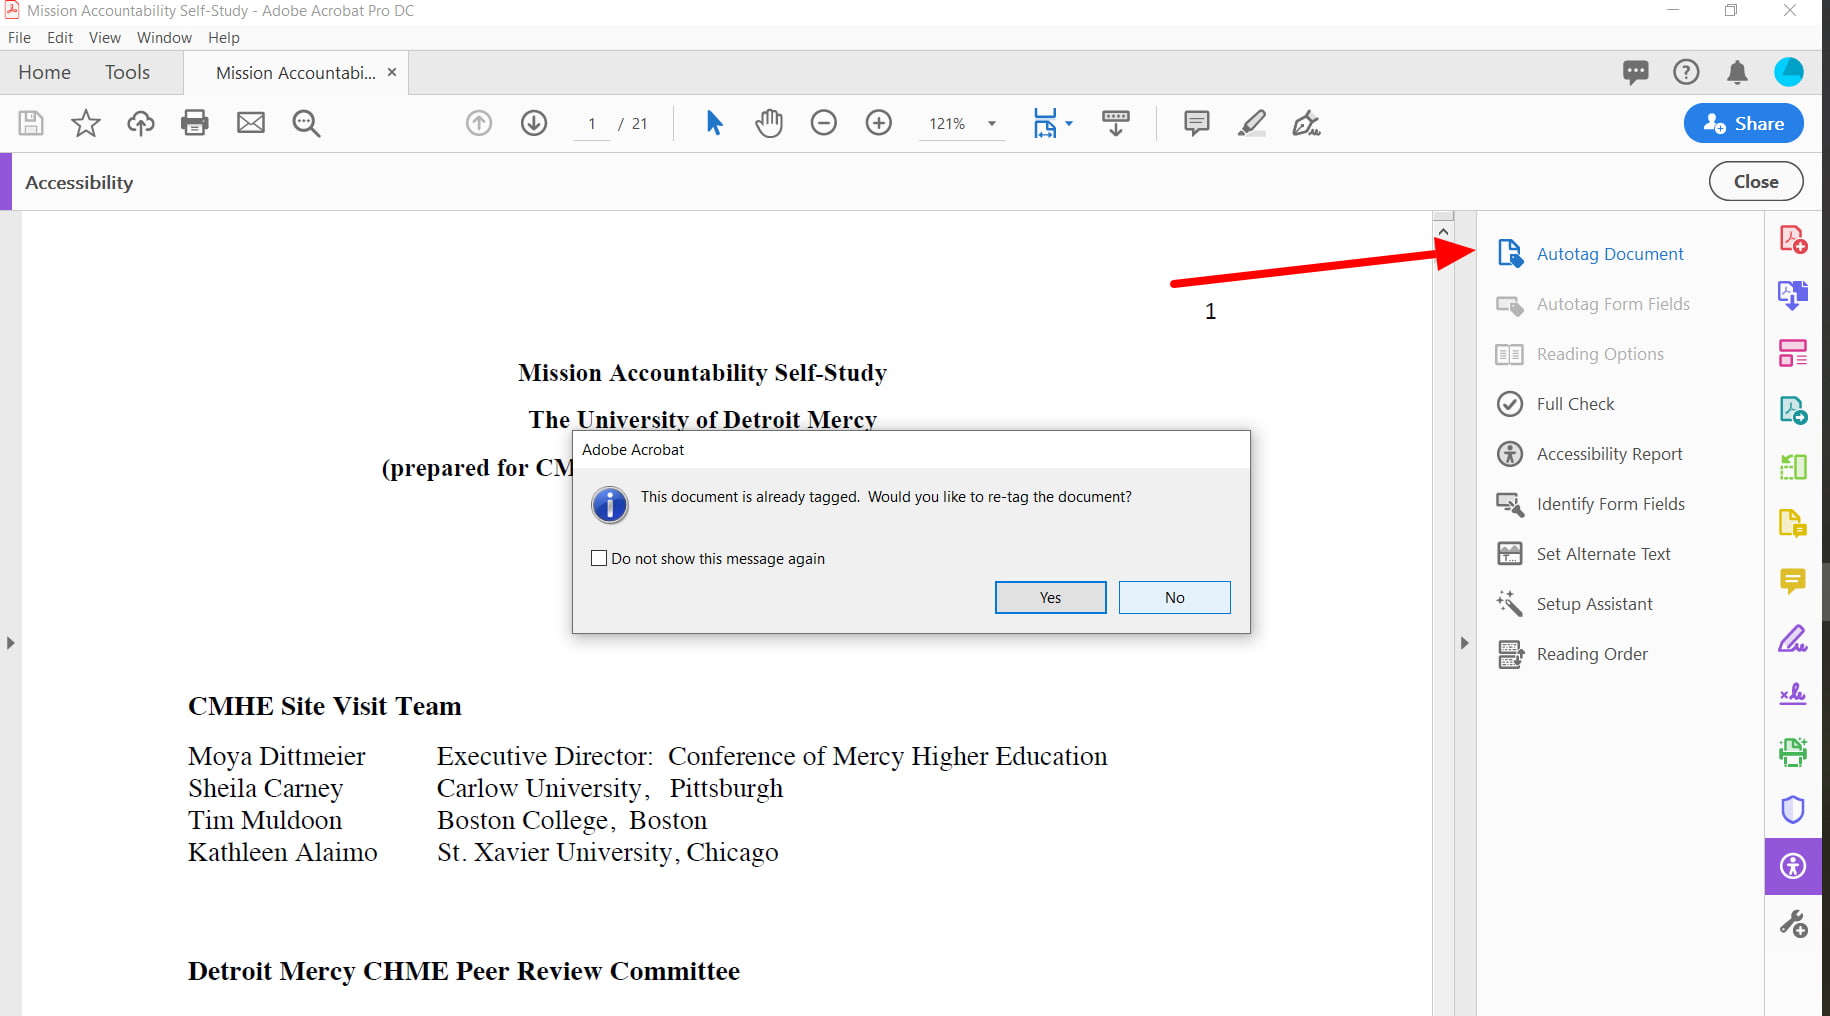
Click “Autotag Document”
This will search and tag headers, paragraphs, images if you have them in your document. If the document is already tagged, click "No."
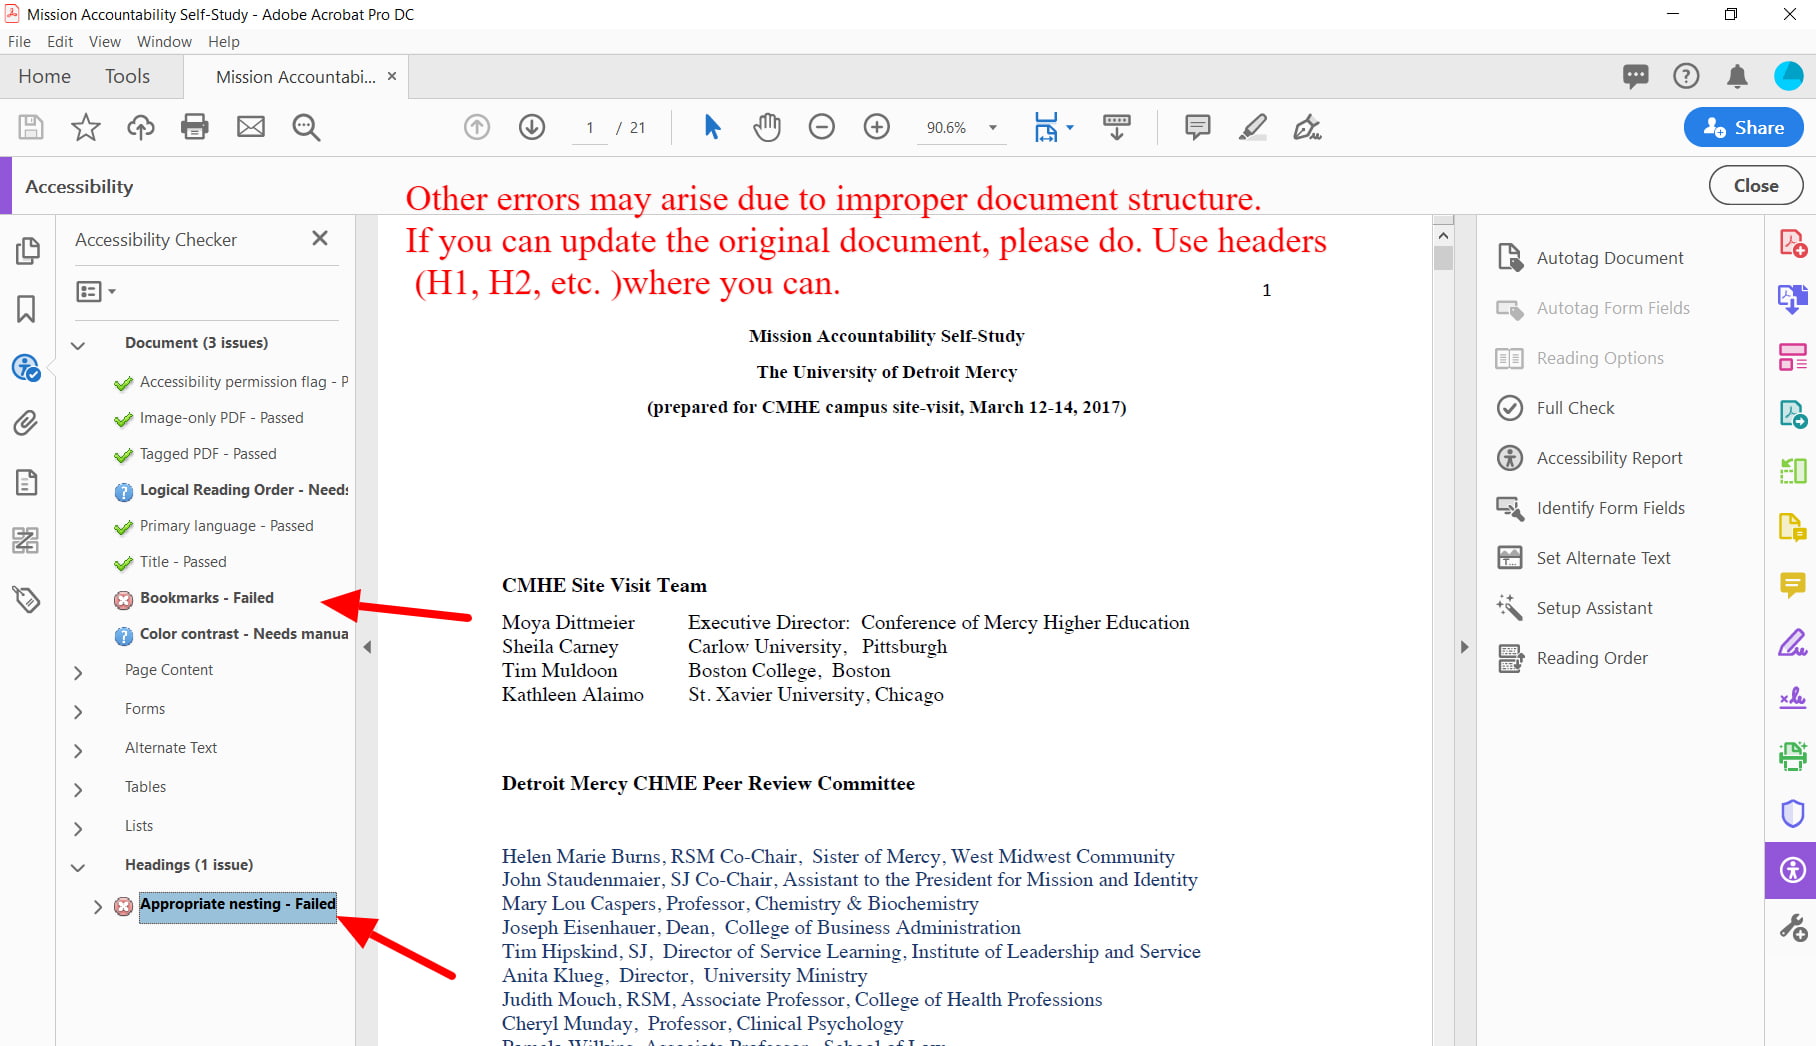
Run Full Check
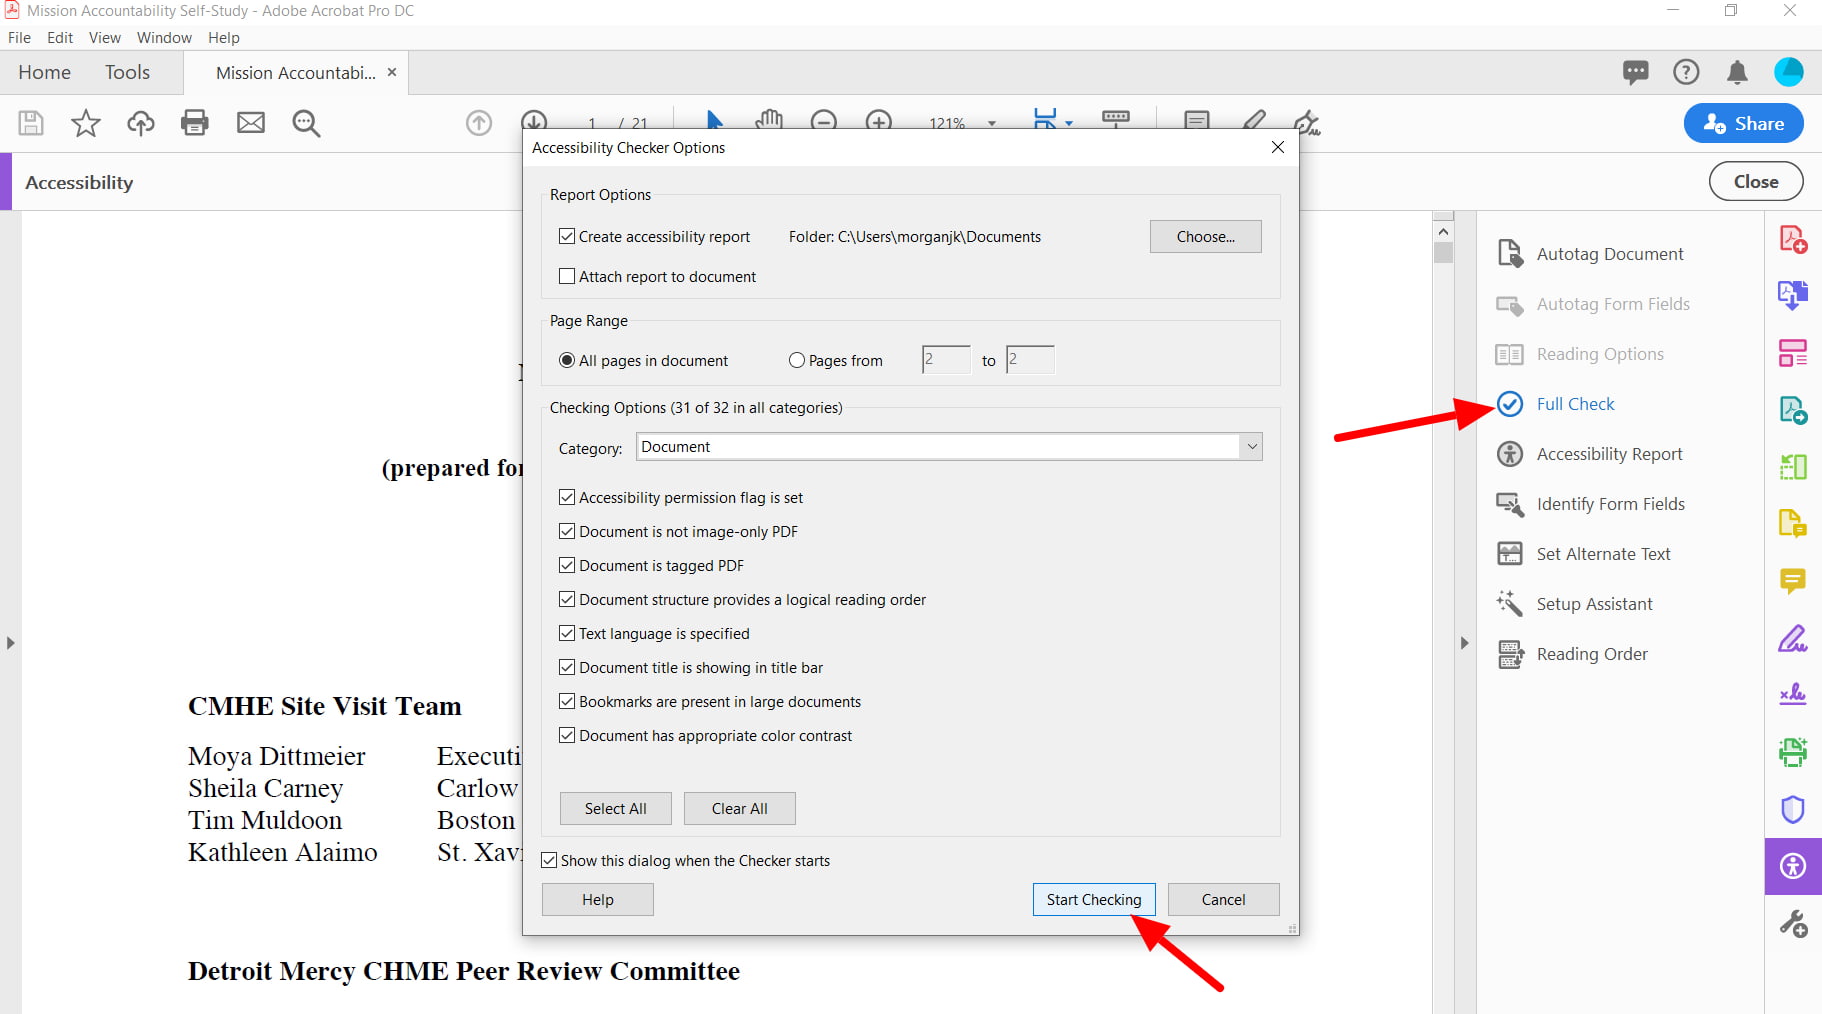
Running a full check may reveal additional errors. Often they will be related to page structure in your original document. If possible, make the original document more accessible by using headers where you can.
Save your document.
This document does not cover how to fix all errors. You can contact MarCom with additional questions.